
Ready to face the challenges in the eerie world of Blasphemous 2? With 10 daunting bosses standing in your path, you’ll need skill, determination, and perhaps a lot of patience to prevail. Let’s see what awaits you, Penitent One.
Blasphemous 2 Boss List
In my time battling through Blasphemous 2, I’ve come across a varied mix of bosses. Some had me gritting my teeth, holding back the urge to send my controller flying through multiple walls, while others brought out the strategist in me, leading to triumphant victory. It’s a blend of love for the challenge and sheer perseverance. And yes, a certain boss did require a good night’s rest before I could conquer it!
In your journey, you’ll unlock 11 achievements or trophies for defeating these bosses. Plus, there are two additional ones tied to the game’s endings. A tip for the dedicated: triumphing over these bosses without taking a hit (except Faceless One and Chisel of Oblivion) will grant you the sought-after Flawless Penance achievement or trophy. Here is the complete Blasphemous 2 bosses list and what rewards you get for each one:
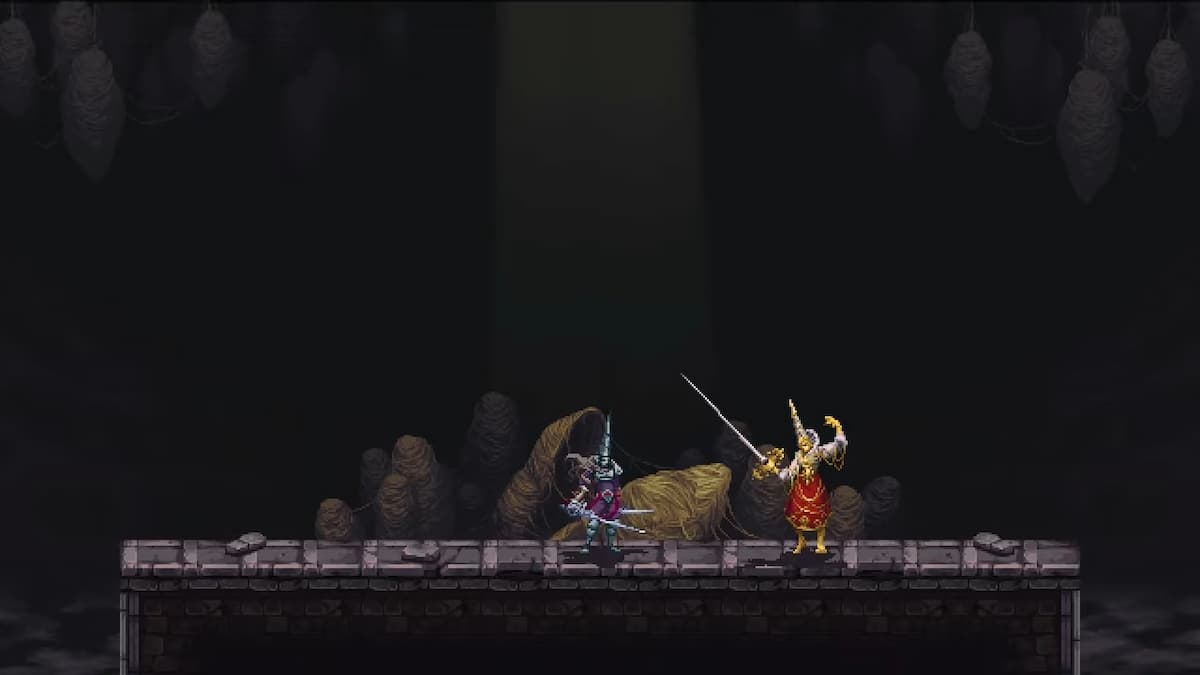
1. Faceless One, Chisel of Oblivion

- Location: Repose of the Silent One (Intro).
- Achievement/Trophy: A Thousand Years Later.
- Rewards: 1 Marks of Martyrdom; 500 Tears of Atonement.
In my playthrough, I made the choice of Sarmiento & Centella as my weapon instead of Ruego Al Alba or Veredicto. The Faceless One is the tutorial boss that primarily uses an air-throw move, which gives a small window to land some attacks. Beware of its charge attack, though. Being patient and learning the rhythm of the fight will help you bring down this adversary.
2. Orospina, Lady Embroiderer

- Location: Palace of the Embroideries.
- Achievement/Trophy: Blood and Gold.
- Rewards: 1 Marks of Martyrdom; 2000 Tears of Atonement.
Jumping over Orospina’s horizontal lunge or countering it effectively can make a difference. Mid-battle, Orospina uses a lightning strike, challenging you to dodge swiftly. As her health diminishes, her attacks diversify. But remember, the experience taught me that persistence pays off, even if you have to face her clones.
3. Lesmes, Incorrupt Sacristan

- Location: Crown of Towers.
- Achievement/Trophy: Blood and Iron.
- Rewards: 1 Marks of Martyrdom; 2000 Tears of Atonement.
Of the initial bosses, Lesmes is arguably the most challenging. With my previous gameplay experience as guidance, I’d suggest focusing on the first phase by avoiding his fire pillar attack. As the battle intensifies, remember to prioritize Infanta in the third phase.
4. Great Preceptor Radamés

- Location: Sacred Entombments.
- Achievement/Trophy: Blood and Dust.
- Rewards: 1 Marks of Martyrdom; 2000 Tears of Atonement.
Timing is everything against Radamés. One misjudged jump, and you could face devastating damage. However, once you’ve mastered the dodge, the rest of the fight becomes a test of consistency and patience.
5. Afilaor, Sentinel of the Emery

- Location: Crown of Towers.
- Achievement/Trophy: The Sharpest Tool in the Shed.
- Rewards: 2 Marks of Martyrdom; 2500 Tears of Atonement.
Fighting Afilaor was one of the highlights of my gaming experience. His patterns might be daunting at first, but understanding his moves is the key to defeating him. Stay vigilant, especially during his final form when his aggressiveness intensifies. He’s one of the hardest bosses in the game, but so much fun.
6. Benedicta of the Endless Orison

- Location: Bastilica of Absent Faces.
- Achievement/Trophy: The Last Ascension.
- Rewards: 3 Marks of Martyrdom, 3000 Tears of Atonement, and Key of Endless Orison (Quest Item).
Drawing from my past encounters, tackling Benedicta is a mixture of strategy and reflexes. Especially as she destroys platforms, limiting your mobility. Stay sharp, and prioritize dodging over attacking when she goes on the offensive.
7. Odon of the Confraternity of Salt

- Location: Sunken Cathedral.
- Achievement/Trophy: The Sea Dies on the Shore.
- Rewards: 3 Marks of Martyrdom, 3500 Tears of Atonement, and Key of Salt (Quest Item).
Odon’s fight becomes significantly easier when you deal with his allies first, though he will keep respawning them. Using certain skills, like Prayers and Hidden Verse, can also give you an edge, turning the tide in your favor. Use double jump often!
8. Sinodo, Hymn of the Thousand Voices

- Location: The Severed Tower.
- Achievement/Trophy: Forged in Fire.
- Rewards: 3 Marks of Martyrdom, 3500 Tears of Atonement, and Key of the Council (Quest Item).
Against Sinodo, concentrate on his face and use any high-damage skills at your disposal, but be careful of flames, as these both loves fire. Stay on your toes, as his shifting attack patterns can catch you off guard. As the battle drags on, always be ready to adjust your tactics.
9. Svsona, Fermosa Fembra

- Location: Two Moons.
- Achievement/Trophy: Fermosa Fembra.
- Rewards: 4 Marks of Martyrdom, 7500 Tears of Atonement, and Key of the Council (Quest Item).
Much like some previous bosses, Svsona is a test of your bullet-dodging abilities. From my experience, playing aggressively can often turn the tide in your favor, using air dash to stay close to her when she’s almost dead. Just ensure you’re aware of your surroundings and are ready to react to her powerful lightning attacks.
10. Eviterno, First of the Penitents

- Location: Crimson Rains.
- Achievement/Trophy: The Wait is Over.
- Rewards: 5 Marks of Martyrdom, 10000 Tears of Atonement, and the Remembrance of Crisanta.
Eviterno gave me a challenging time, taking more hours than I dare to admit. This is the Blasphemous 2 most difficult boss and most challenging boss ever. Whatever, do not attempt to use any combos in his second phase. Attack then back way, keeping an eye on him constantly.
11. Devotion Incarnate, The Last Child of the Miracle

- Location: Crimson Rains.
- Achievement/Trophy: A Heart of Gold.
This is the final boss of Blasphemous 2. I won’t say much, aside from it’s easier than Eviterno!
![Brixity Codes [iOS/Android Free Gifts] (August 2023)](https://wormcoupon.com/wp-content/uploads/2023/08/Brixity-promotional-image-75x75.jpg)


![Doodle World Codes [New Update] (June 2023)](https://wormcoupon.com/wp-content/uploads/2023/06/featured-doodle-world-codes-120x86.jpg)
![The Barnstars Codes [Alpha Early Access] (June 2023)](https://wormcoupon.com/wp-content/uploads/2023/06/the-barnstars-codes-120x86.jpg)


![Bladers Rebirth Codes [UPDATE!] (July 2024)](https://wormcoupon.com/wp-content/uploads/2024/07/Bladers-Rebirth-on-a-field-standing-behind-my-blader-120x86.jpg)

